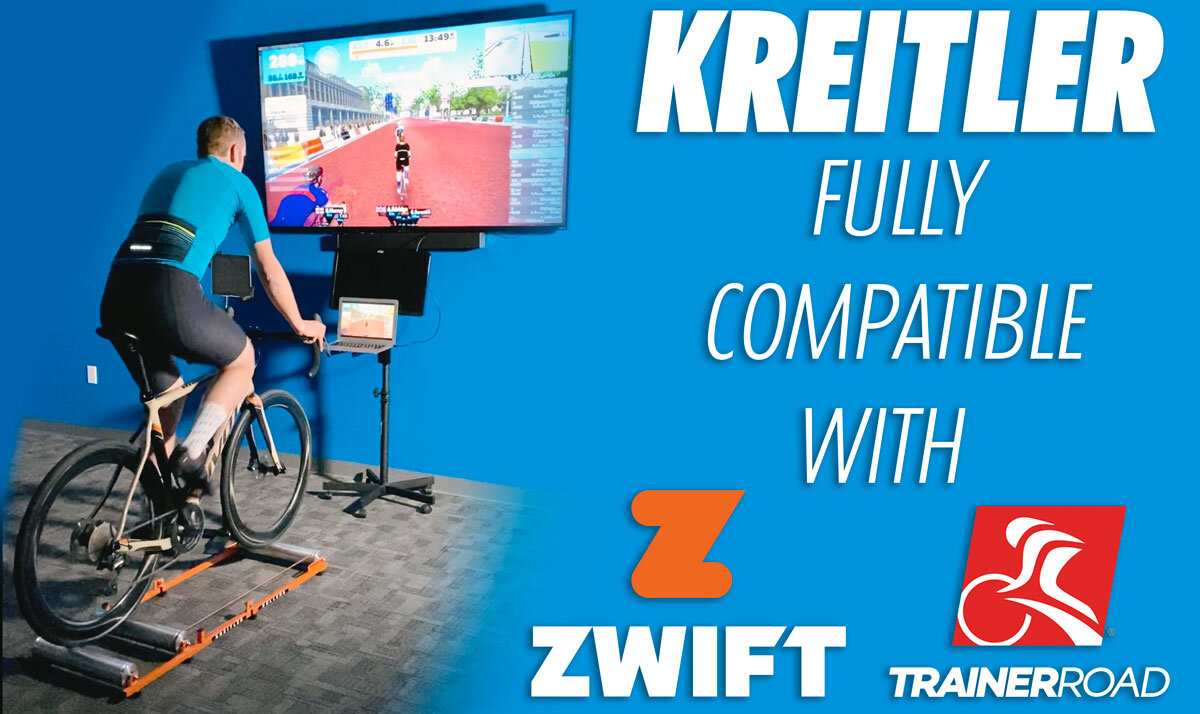
Using Kreitler Rollers with Training Apps
Kreitler Rollers are fully compatible with popular training apps, including Zwift and TrainerRoad. These programs are great way to keep yourself entertained and challenged while training on your rollers. You don’t need to invest in a smart trainer; it’s easy to use the apps with your rollers.
Here’s how:
1) Get a power meter if you don’t already have one. Make sure to buy one that connects via ANT+ or Bluetooth. There are many on the market. We recommend a fellow Colorado company, Stages Cycling. The 4iii Precision is also a good lower-cost option.
2) Most up-to-date computers and smartphones have Bluetooth built-in, so if your power meter uses Bluetooth, the rest of setup is simply connecting it (and other devices like HR monitors) in the software. If you want to connect using ANT+, you’ll need what’s called a USB ANT+ “dongle.” Be aware, these are no longer supported by the latest Apple iPhones and iPads that use the Lightning charging interface. We’ve personally used this inexpensive ANT+ dongle and verified it works.
It’s that simple!
Kreitler Training Center
Kick off your training with these complimentary roller sessions from cycling coach Peter Georgi of Halo Cycles.
Peter is a lifelong cyclist, a GB rider in his youth and, more recently, a multiple national masters and European scratch race champion. He has a wealth of racing experience on the track, in time trials, and on the road in multi-stage races.
Peter owns Halo Cycles; the Kreitler Rollers dealer for the UK and Europe.
Ramped Cadence Session
Developing cadence skills is one of the key benefits of using rollers and is a great way to develop efficiency as a bike rider. This session will help you become comfortable at higher cadences and is good for supporting road, track and cross riding.
Equipment Used
4.5” or 3” rollers, no Flywheel or Headwind Fan.
The Session
The body of this session is 3 x 6 minute intervals that ask you to ramp up the cadence in minute bursts which will push you beyond your previous limit. Tires should be pumped up hard and rollers running smoothly.
Warm up well for 10 minutes at a comfortable cadence, usually between 85-95 rpm.
Include 3 max cadence rev-outs in the warm up.
Then do the following 3 six-minute intervals with 5 mins steady riding in between.
1 min @ 100 rpm, 1 min @ 110 rpm (or around it but just above it)
1 min @ 100 rpm, 1 min @ 115 rpm
1 min @ 100 rpm, 1 min @ 120 rpm 5 mins recovery at around 90 rpm
1 min @ 100 rpm, 1 min @ 115 rpm (or around it but just above it)
1 min @ 100 rpm, 1 min @ 120 rpm
1 min @ 100 rpm, 1 min @ 125 rpm 5 mins recovery at around 90 rpm
1 min @ 100 rpm, 1 min @ 120 rpm
1 min @ 100 rpm, 1 min @ 125 rpm
1 min @ 100 rpm, 1 min @ 130 rpm
10 mins cool down
How to Do It
Key to developing your cadence skills is to use your core while riding. So, in 6 minute intervals, aim to lock your core and hold your upper body still. It will feel odd to start, but will feel natural as you get more experience .
Progression and Other Thoughts
One obvious progression is to aim for higher final cadence. Once you can comfortably complete the final 6 minute interval, start the first one at 115 rpm – pushing the cadences up 5 rpm each time so finally ending on 135 rpm. Likewise, if the whole session is too much to start, reduce the first interval to 105 rpm.
Body Position: Most people will start doing this session on the hoods. The next progression is to do the intervals in the drops and for those who time trial or pursuit, do them on the skis of a TT or pursuit bike.
Finally, once you are comfortable with this session it can act as a great recovery ride. The high cadence will continue to develop skill while the power will always be low.
Roller Endurance Session
This session is great for developing endurance throughout the winter months. The idea is quite simple, a continuous block of endurance Z2 riding alternating with Tempo (Z3) or Sweet Spot. The aim is to keep the effort consistent and build up Time In Zone (TIZ) in the different power zones.
Equipment Used
4.5” or 3” rollers with Flywheel or Headwind Fan.
This session needs resistance. A Flywheel on either the 4.5” or 3” Kreitler rollers will give a road like feel with enough resistance to ride at high power levels.
The Session
Warm up at a lower Z2 level for about 5 minutes before moving into mid or higher level Z2 for 5 minutes before the first tempo (Z3) effort.
Then..
5 mins Z3, 5 mins Z2 – repeated 5x
Warm down for 5 mins after final Z3 effort.
Cadence can be naturally selected, i.e. what you feel comfortable with. Normally it will be higher in the Z2 and Z3. Range likely to be 90-100 rpm Z2, 85-95 rpm for Z3.
As the session goes on you will probably find cadence in Z3 decreases as fatigue sets in.
How to Do It
This session is surprisingly hard because it requires you to stay in Z2 during the “rest” phase. In truth, it isn’t rest and that is the point. The aim is to build TIZ of both Z2 and Z3. A common mistake many people make when looking to build their aerobic engines is to make the off sections too easy. Keeping at Z2 means you don’t quite recover and the Z3 intervals feel progressively harder as the session goes on.
Progression and Other Thoughts
The basis of this session is to think of it as Z2 with added Z3 intervals in it. It’s a continuous effort that requires concentration to complete and is a great way to build fitness when riding indoors.
The first progression is to add more intervals. Once you can complete the session as set, so the whole session is in the Z2 and Z3, add more intervals up to 8 max.
The next progression is to increase the Z3 interval length. 10 minutes, then 15 minutes and eventually 20 minutes with 5 – 8 minutes Z2 in between. Getting to an hour of Z3 in total is a good target.
Another progression is to increase the power in the efforts to Upper Z3 or Sweet Spot. So Z2 and Sweet Spot.
As you can see, this session is highly flexible. It can be used all winter as part of a progressive training where you can build Time in Zone at both Z2 and Z3. Remember, that the rest phases must ALWAYS be Z2 – that is where the true gains will come from. In fact, we have heard of one World Tour rider who, when coming back from a major leg injury, got to the point of 30 minutes Z2, 30 minutes of Z3 for 4 hours!
Sweet Spot Rev Ups
Sweet Spot training is universally agreed to be a key part of building FTP levels as well as the ability to ride at high power outputs for sustained periods of time.
This session is great to use when trying to lift your FTP as it builds Time in Zone (TIZ) at just below threshold. The Rev Ups also build your ability to cope with changes in pace and also to carry on riding at a high level after an intense effort.
Sweet Spot is sub zone that straddles upper Z3 (tempo) and lower Z4 (threshold). It is 88% to 93% of your set FTP level.
Equipment Used
4.5” or 3” rollers with Flywheel or Headwind Fan.
This session needs resistance. A Flywheel on either the 4.5” or 3” Kreitler rollers will give a road like feel with enough resistance to ride at high power levels.
The Session
Warm up at a lower Z2 level for 10 minutes. Include 2 low-gear high-cadence rev outs in the warm up.
Then…
10 mins Sweet Spot, 5 mins Z2 – repeated 3 times
In the second and third SS effort, do a 6 second rev out every 3 minutes. Use the gear you are in and sprint to the highest cadence you can for 6 seconds. Settle back to your SS level as quickly as possible.
Warm down for 5 mins after final SS effort.
How to Do It
This session is quite taxing. Sustained efforts near threshold are psychologically hard so be prepared to “keep on going.” The time between the SS efforts is Z2, so get back to that level as quickly as possible after the effort.
Cadence for the SS efforts should be around 80-85 rpm to give you something to “lean on.”
During the re-up, hold your body still and engage your core.
Progression and Other Thoughts
The classic threshold building effort is 2 x 20 minute Sweet Spot efforts. Twice a week for three weeks will make a noticeable difference to your fitness. However, getting to that level will take time if you are starting out with this type of training.
This session is the base level; 3 x 10 min SS. The next progression would be 2 x 15 minute SS, i.e. two intervals but of a longer duration. Although the Time in Zone (TIZ) is still the same, it will feel harder as the continuous efforts are longer.
Progression 2 would be 2 x 15 minutes SS, then 3 x 15 minutes. Finally you can go to 2 x 20 minutes and if you can get to it, 3 x 20 minutes.
Remember, that you should always ride at Z2 between the Sweet Spot intervals.
Pedal Technique and Skills Session
As well as hard training, rollers are a great way to help improve your riding skills. This session develops pedal technique and body control. It can also be used as a recovery ride.
Equipment Used
Any size rollers. No added resistance.
The Session
Warm up at a steady cadence of 90-100 rpm for 10 minutes.
During the next 20 minutes to the following:
10 x 1 legged pedaling efforts (5 on the left leg and 5 on the right leg) for 15-20 seconds in duration.
Alternate between legs one after the other.
After the one legged drills ride steady for a few minutes and then complete:
4 x 15-20 second efforts riding out of the saddle.
This requires you to control the bike, keeping it central over rollers while keeping your body still over the bike.
Spin for 10 mins at above 100 rpm to finish the session.
How to Do It
For the one-legged intervals, pick a small gear and hold the bars steady. Hold your body still and concentrate on pedaling smoothly. Think circles and try not to stamp on the pedals.
When out of the saddle it will feel difficult to keep the bike central over the rollers at first. Concentrate on holding your body in a fixed position. As you get better, the aim is keep the bike and body as stationary as possible while pedaling.
Progression and Other Thoughts
Gradually increase the interval lengths up to 1 minute each leg and 1 minute out of the saddle.
As you get more skilled at the one-legged pedaling, start doing the intervals with one hand off the bars. If pedaling with the left leg keep the right hand on the bars.
Muscle Tension Intervals
Muscle Tension work can be thought of as strength training on a bike. The idea is to use a big gear or force, with low cadence to put the legs under “tension” while cycling. Muscle Tension work is often used at the start of building up for the new season where building strength is a key focus.
Equipment Used
4.5” or 3” rollers with Flywheel or Headwind Fan.
This session needs resistance. It can be done with a Flywheel but Headwind Fan is best. Sometimes (depending on weight of rider, size of rollers etc.) Flywheels can build up momentum. The Headwind Fan provides a constant force.
The Session
Warm up at a lower Z2 level for 10 minutes. Include two low-gear, high-cadence rev outs in the warm up.
Then…
5 mins muscle tension, 5 mins Z2 – repeated 4 times
Warm down for 5 mins after final MT effort.
The key is to keep your cadence between 55-65 rpm. The gear chosen should be big enough for you to feel a constant force on your legs. You are not aiming for a power level but it might hover between Z3 & Z4.
How to Do It
Tension intervals are a key part of building muscular strength and the ability to press hard on the pedals. On the road you would do them on gentle climbs or in to a head wind. So when doing them on the rollers, imagine you are climbing steadily and keep your body still.
When doing tension intervals lock your core and twist your hips forward on the saddle. Hold your arms still and concentrate on keeping your body still.
Cadence for the MT efforts should be around 55-65 rpm.
Progression and Other Thoughts
The simplest progression is to build up the length of the intervals, adding 1 minute at a time up to a maximum of 8 mins (40 mins in total muscle tension).
A further progression is to do some of the intervals in the drops, so in a racing position. Again, lock your core and keep your body still.
You can also do this type of session on a time trial bike.
Max Power - High Cadence Intervals
These are probably the hardest intervals you can do on the rollers. The idea is to produce the maximum power you can possibly do for the interval while maintaining a high cadence of 115 rpm.
As well as being a great way to improve your ability to ride at high intensities for extended durations, they also help develop psychological toughness. These intervals hurt.
Equipment Used
4.5” or 3” rollers with Flywheel or Headwind Fan.
This session needs resistance. The Flywheel is great for keeping a road-like feel at high power outputs.
The Session
Warm up at a lower Z2 level for 10 minutes. Include two low-gear, high-cadence rev outs in the warm up. Cadence should be between 90-100 rpm
Then...
2 mins Cadence/Power interval, 5 mins Z1/Z2 – repeat 4–6 times
Warm down for 5 mins after final effort.
How to Do It
Key to these efforts is to think of cadence first and then power. At the start, take about 20 seconds to build up to the 115 rpm while increasing the gear. By about 20 seconds you should be at the right cadence and in as big a gear as you think you can maintain for the whole interval. At this stage, it will not feel flat out. The pain kicks in soon.
If you can’t keep the cadence up, move into a smaller gear to maintain 115 rpm. Again, this is the max power you can do at 115 rpm.
It is best to do these on the hoods as the more acute racing position in the drops will restrict your breathing.
Progression and Other Thoughts
Start with 4 intervals – they are hard - and gradually build up to 6 per session.
The next progression is to increase the interval time to 3 minutes and then 4 minutes. Each time you move up, start at 4 reps again building up to 6. Over time you will see your power increase for the intervals.
Done properly, these intervals really hurt but they are so good for you. I guarantee jumping across to the race winning break will never feel as hard as these are!